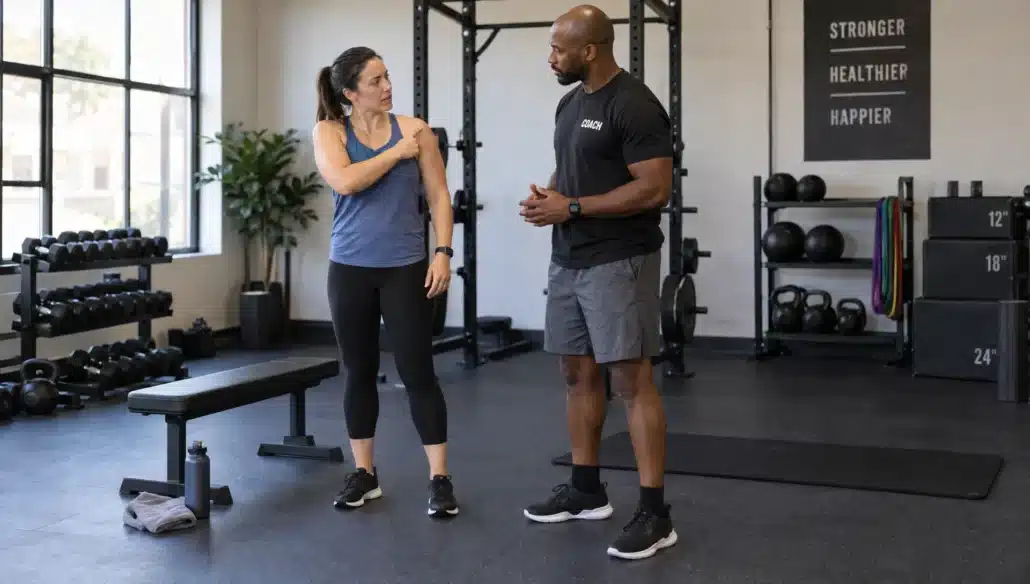
To design athletic wear that reduces chafing, start with where fabric, skin and seams repeatedly rub during movement. A smooth swatch or a comfortable standing fit will not reveal what happens after sweating, stretching and thousands of running strides.
For apparel brands and teamwear buyers, the goal is to reduce avoidable friction without sacrificing support or durability. That takes coordinated decisions about fabric surfaces, seam placement, garment stability and finished-sample testing. No construction can guarantee chafe-free wear for every athlete, but thoughtful development can remove many preventable sources of irritation.
Map friction before choosing construction
Chafing is skin irritation caused by repeated friction. Cleveland Clinic’s explanation of chafing identifies rubbing, moisture and poorly fitting clothing among the relevant factors. For a designer, this means evaluating the garment against both the body and its intended activity.
Create a contact map before finalizing panel lines:
| Contact area | Common design issue | What to investigate |
|---|---|---|
| Inner thighs | Fabric rides up or seams rub | Leg stability, inseam position and coverage |
| Underarms | Arm movement catches a bulky junction | Armhole shape and seam intersections |
| Waist | Elastic rolls or edges dig in | Waistband contour and tension |
| Chest | A rough surface moves repeatedly over skin | Fabric face, garment movement and decoration |
| Groin | Seams converge under pressure | Crotch shaping and gusset construction |
Prioritize the highest-risk zones for the sport. Running shorts, cycling layers and strength-training tops should not share the same friction assumptions simply because they use similar fabric.
How to design athletic wear with less seam friction
Seam location matters as much as seam type. A low-profile seam can still irritate if it crosses an area under repeated pressure. Moving that seam away from the contact zone may help more than changing its stitch alone.
For bottoms, examine whether the inseam sits directly between the thighs throughout a stride. Consider alternative panel layouts or a gusset that moves bulky intersections away from the central crotch area. A gusset only helps if its shape, stretch and joining seams work together.
On tops, check the underarm junction with the arm lowered, raised and swinging. Several seam allowances meeting at one point can create a noticeable lump even when each individual seam feels acceptable.
Flatlock construction can reduce some seam bulk, but exposed threads may still feel abrasive. An overlocked seam can perform well when its allowance, thread and placement are suitable. Bonded joins need their own checks for stiffness, edge lifting and durability after laundering.
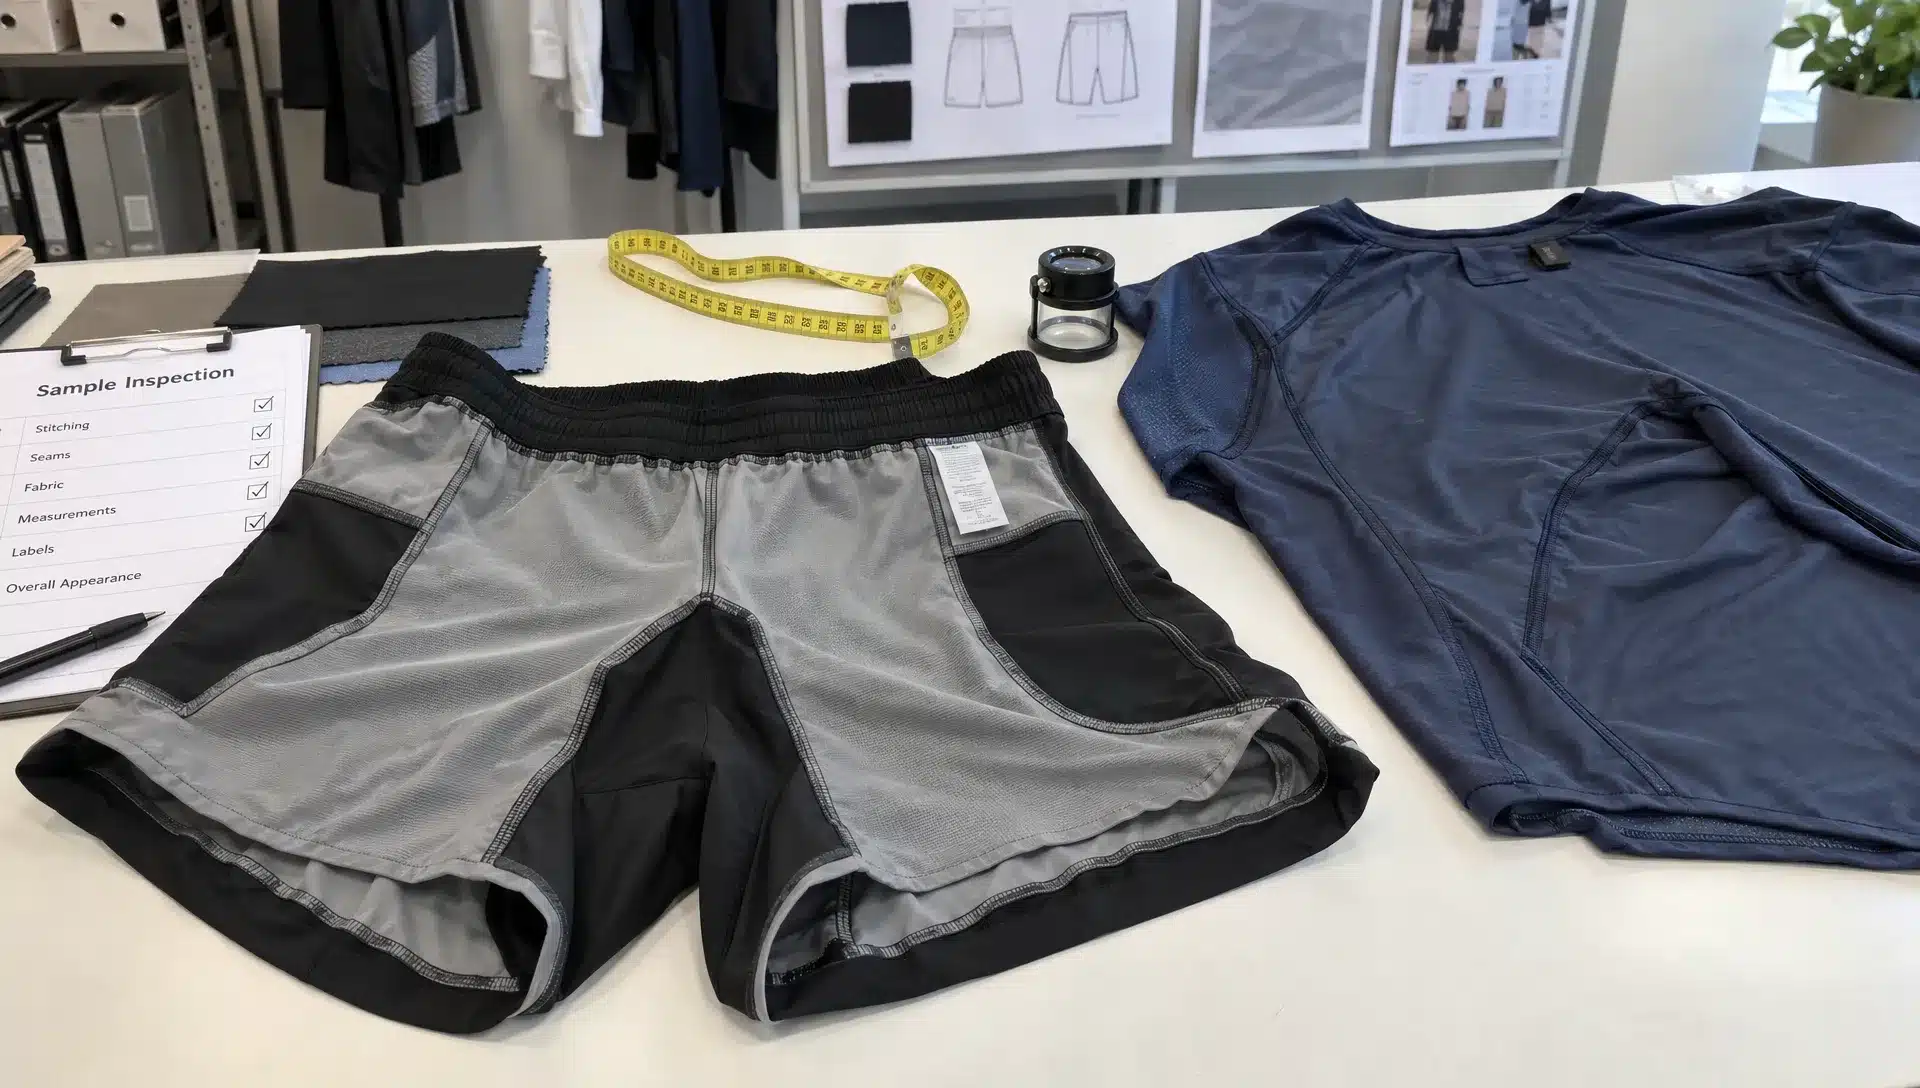
Ask to inspect the inside of each sample, not just its exterior. Run a fingertip across the seam in both directions, then stretch it to the level expected during use. Look for hard thread ends, uneven edges and puckering.
The specification should describe the required skin-facing result, not simply request “flat seams” without defining acceptable construction.
Choose fabric for damp movement, not dry softness
When you design athletic wear for sweaty conditions, evaluate how the finished fabric behaves against skin after moisture and repeated movement. Softness in the showroom is only one part of that assessment.
Polyester, nylon and elastane blends are common starting points, but fiber percentages do not establish chafing performance. Yarn structure, knit construction, finishing and the surface presented to the skin also matter. Two fabrics with similar composition and weight can feel very different in use.
Check four properties together: skin-side texture, moisture handling, stretch recovery and dimensional stability. A fabric that transports moisture effectively may still have a rough surface. A smooth fabric may lose shape and bunch as the session progresses.
Test both sides of the material and clearly identify which side faces inward. Raised textures, coarse mesh and pronounced surface patterns deserve particular attention where the garment contacts moving skin.
For preliminary comparisons, dampen samples consistently and rub them gently against an uninjured area of skin. Treat this as an early screening step, not proof of finished-garment performance.
Your breathable sportswear evaluation should also consider airflow and sweat management. Breathability supports comfort, but it does not replace direct assessment of friction, fit and seam placement. Request washed samples so finishing changes do not remain hidden until customers use the product.
Control fit without relying on extra compression
To design athletic wear that stays comfortable, distinguish between secure fit and excessive pressure. Loose material can fold and rub, while an overly tight garment can concentrate pressure along elastic edges and seams.
Start with the movement pattern. A runner needs the leg opening to remain stable during repeated strides. A lifter needs enough room through the hip and crotch to squat without pulling the waistband downward. A fitted top should accommodate reaching without dragging rough fabric across the underarm.
Negative ease, where garment measurements are smaller than body measurements, should reflect the fabric’s stretch and recovery. Copying the same reduction across different fabrics can change pressure and stability substantially.
Check fit on the intended size range rather than approving only a middle size. Thigh shape, torso length and waist-to-hip proportions can alter where seams sit. Grading a pattern does not automatically preserve its contact points.
For shorts, evaluate whether the hem stays below the wearer’s thigh-contact zone during motion. There is no universal inseam length that solves this for every body.
Finally, test expected layers together. A liner that works alone may wrinkle beneath an outer short, while two waistbands can create pressure that neither produces individually. Record these interactions as fit issues rather than assuming a different fabric will resolve them.
Keep trims and decoration out of rubbing zones
Small components can undermine otherwise careful work when you design athletic wear for prolonged use. Labels, elastic joins, pocket edges and decoration should appear on the same contact map as structural seams.
A waistband needs assessment along its entire circumference. Check the elastic join, the top edge and any internal drawcord exits. A wide waistband is not automatically gentler if it folds or traps a thick seam against the body.
For liners and supportive garments, inspect leg-opening tension during movement. Grippers may reduce migration, but they introduce another skin-contact material and can create local pressure. Specify their placement deliberately and test them rather than treating them as a default solution.
Place care labels where they are unlikely to rub. Printed or transferred information can reduce label bulk, but the applied surface still needs checking for stiffness, cracking and irritation after washing.
Embroidery backing and dense stitching deserve scrutiny near the chest, underarms and waist. Screen prints and transfers can also change flexibility. Sublimation avoids an added print film, although it cannot compensate for a rough base fabric.
Test pockets with realistic contents. A phone or key can pull a panel out of position and turn a pocket seam into a pressure point. Evaluate the fully decorated, fully equipped garment rather than approving an undecorated shell alone.
Turn comfort goals into a usable tech pack
If you design athletic wear with a manufacturing partner, translate “comfortable” into details that can be sampled and checked. Otherwise, the factory has to interpret a subjective instruction without knowing which contact points matter most.
Use annotated inside and outside drawings to show seam routes, skin-facing surfaces and areas where bulky intersections are unacceptable. Identify which construction details require approval before bulk production.
Include these friction-specific requirements:
- Fabric orientation: Identify the approved skin-facing side and reference the selected material sample.
- Seam construction: Record stitch type, allowance direction and treatment of thread ends at sensitive locations.
- Fit checkpoints: Define where the waistband, leg openings and key seams should sit during movement.
- Component placement: Locate labels, elastic joins, pocket edges and decoration relative to contact zones.
- Sample approval: Require review of the finished garment after the agreed movement and washing checks.
Include close-up photographs of accepted and rejected sample details. A picture of a hard thread tail at the inner thigh is more actionable than a general note saying “improve comfort.”
Keep revisions traceable. If you change the gusset shape, elastic or fabric, record the version so the next sample can be compared fairly. Ask the manufacturer to confirm available construction methods rather than assuming every proposed seam or bonding process is supported.
Wear-test samples under realistic conditions
A useful way to design athletic wear is to treat each sample as a testable proposal. Do not approve it solely because the first wearer finds it comfortable during a brief fitting.
Use a repeatable activity sequence appropriate to the product, then follow it with a normal training session. For example, running-short development might include walking, repeated strides and a run long enough to reveal sweat-related movement. This is a development approach, not a standardized chafing test.
Compare dry, sweaty and washed garments
Keep the comparison conditions as consistent as practical: wearer, activity, duration, layering and pocket contents. Test more than one body shape within the intended audience. Stop a trial if rubbing becomes painful or skin starts to break down.
Record the location of each hotspot, when it appeared and what the garment was doing at that moment. “Inner-thigh irritation after the hem rolled upward” provides a clearer revision target than “shorts felt uncomfortable.”
Repeat testing after laundering according to the proposed care instructions. Check for shrinkage, seam distortion, elastic changes and harder print or label edges. Set wash checkpoints before development begins so suppliers and buyers evaluate the same condition.
A simple internal rating can separate no noticeable rubbing, noticeable contact and discomfort that requires stopping. Define the scale consistently and record wearer comments alongside it. Such ratings help compare samples; they do not establish a medical claim or guarantee comfort for all customers.
Revise the cause, then confirm the production sample
The strongest feedback loop helps you design athletic wear around an identified failure rather than a vague request for softer material. Match the revision to the observed mechanism.
If fabric gathers between the thighs, investigate leg stability, crotch shaping and recovery. If one seam causes a narrow hotspot, examine its position, allowance and thread surface. If the waistband rolls before irritation begins, changing the label will not address the underlying problem.
Change one major variable at a time where practical. Replacing the fabric, pattern and elastic simultaneously may improve the sample, but it makes the reason harder to identify and reproduce.
Recheck any change that affects neighboring areas. Moving a seam can create a new junction, while increasing leg-opening tension may stop ride-up but introduce pressure at the hem.
Before approving production, confirm that the reviewed sample represents the intended bulk fabric, trims, decoration and construction. Keep an approved reference sample and the associated revision notes.
Treat unexpected substitutions as reasons for review, especially in skin-contact areas. A different elastic, thread or transfer can alter comfort even when the garment looks unchanged from the outside. Visual approval alone cannot confirm that a substitution preserves the tested result.
Frequently asked questions
Can you design athletic wear that completely prevents chafing? No garment can guarantee that outcome for every wearer, activity and environment. Design can reduce common friction sources, but individual anatomy, sweat, duration and layering still affect the result. Avoid absolute “chafe-proof” claims unless you have evidence supporting the exact claim being made.
Are seamless garments always better? No. Removing some seams can eliminate certain pressure points, but fit, knit texture, elastic edges and remaining joins still matter. A well-positioned cut-and-sew seam may be more comfortable than a poorly fitting seamless garment.
Does moisture-wicking fabric prevent rubbing? Not by itself. Moisture handling is useful, but the skin-facing surface, garment movement and pressure must also be assessed. Judge the finished product under realistic conditions rather than relying on a fabric description.
What should you do if a wear tester develops a rash? Stop the trial and avoid further rubbing over irritated skin. A persistent, worsening or unexplained rash needs medical assessment rather than repeated garment testing. Not every rash beneath sportswear is friction-related.
Bring a friction-focused brief to your manufacturer
Extreme Sportswear offers custom cut-and-sew sportswear, private-label production, fabric customization and low-MOQ orders. Bring your contact map, intended activity, size requirements and sample-testing criteria to the discussion, then confirm which construction options are available for your project.
Ready to develop your first sample? Contact Extreme Sportswear to discuss your custom athletic wear and use the agreed specifications to evaluate fabric, fit and construction before committing to production.